Video Mill : User's Guide
 Contents
 Language
 Product Home
Crop - Video Geometry
 Page Bottom
Video Geometry Controls
Show or Hide this section of controls by clicking the associated button on the Show Controls Sections Toolbar
Video Geometry settings determine how the video is rendered inside the Media Screen.
 To Page Top
About Video Cropping
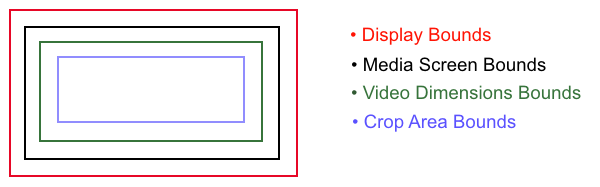
Cropping allows you to create visually interesting viewports through which to show a video. The cropping area defines an area within the Media Screen. Any part of the video that lies outside of the Crop Shape area will be cropped off (not viewable).
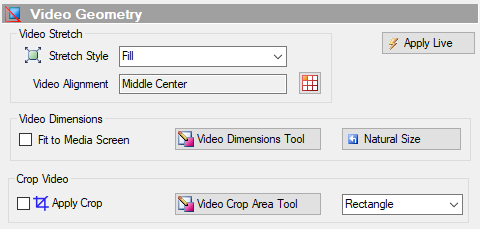
Apply Crop
When the Apply Crop checkbox (Figure 1) is checked, the video will be cropped to the defined Crop Area. When unchecked, no cropping will be performed.
Apply Live button
Refresh on Media Screen Size Change
If you change the Media Screen Size, you will need to click the Refresh button on the Media Screen Dimensions control panel to force the cropping area to be recalculated.
Crop Shapes
Select a cropping shape via the Crop Shape selector (Figure 1) in the Crop Video controls section.
Available shapes: Parallelogram (leaning) Left, Parallelogram (leaning) Right, Diamond, Rectangle, Ellipse (or Circle).

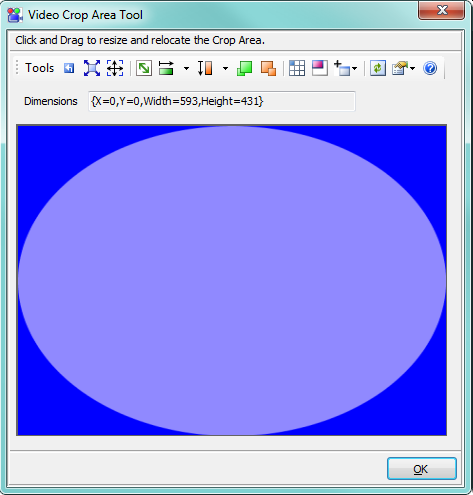
Video Crop Area Tool
The Crop Area Tool (Figure 3a) let's you expand/contract the shape size and stretch it in horizontal or vertical directions to create custom cropping shapes. You can also relocate it's position within the Media Screen.
Open the tool, by clicking the Video Crop Area Tool button (Figure 1). Click on the Crop Shape and drag it to relocate its position. To resize it, click on the resize handle (red square at the bottom, right corner of the shape) and drag it. There is a wide variety of sizing and locating functions available on the tool bar.
Tool bar functions
For details on what the tool bar functions do, see the Resize/Relocate Tool section.
Resize/Relocation Tools
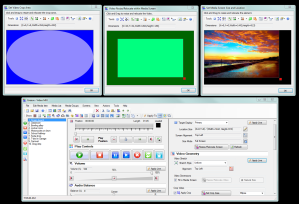
Typical desktop organization when making adjustments to Crop Area size/location; Video size/location; and Media Screen size/location.
Tools in Figure 3b (left to right): Crop Area Tool, Video Dimensions Tool, Media Screen Dimensions Tool.
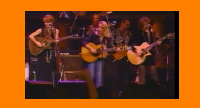
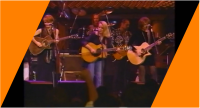
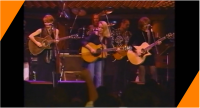
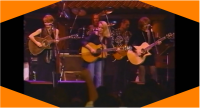
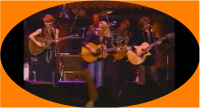
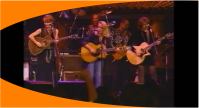
Crop Examples
Here are a few examples of how cropping can be applied. In these examples, the Media Screen Background is set to orange to clearly demonstrate the effect. When the Background is set to match the Windows Desktop color, the orange area would be effectively invisible.